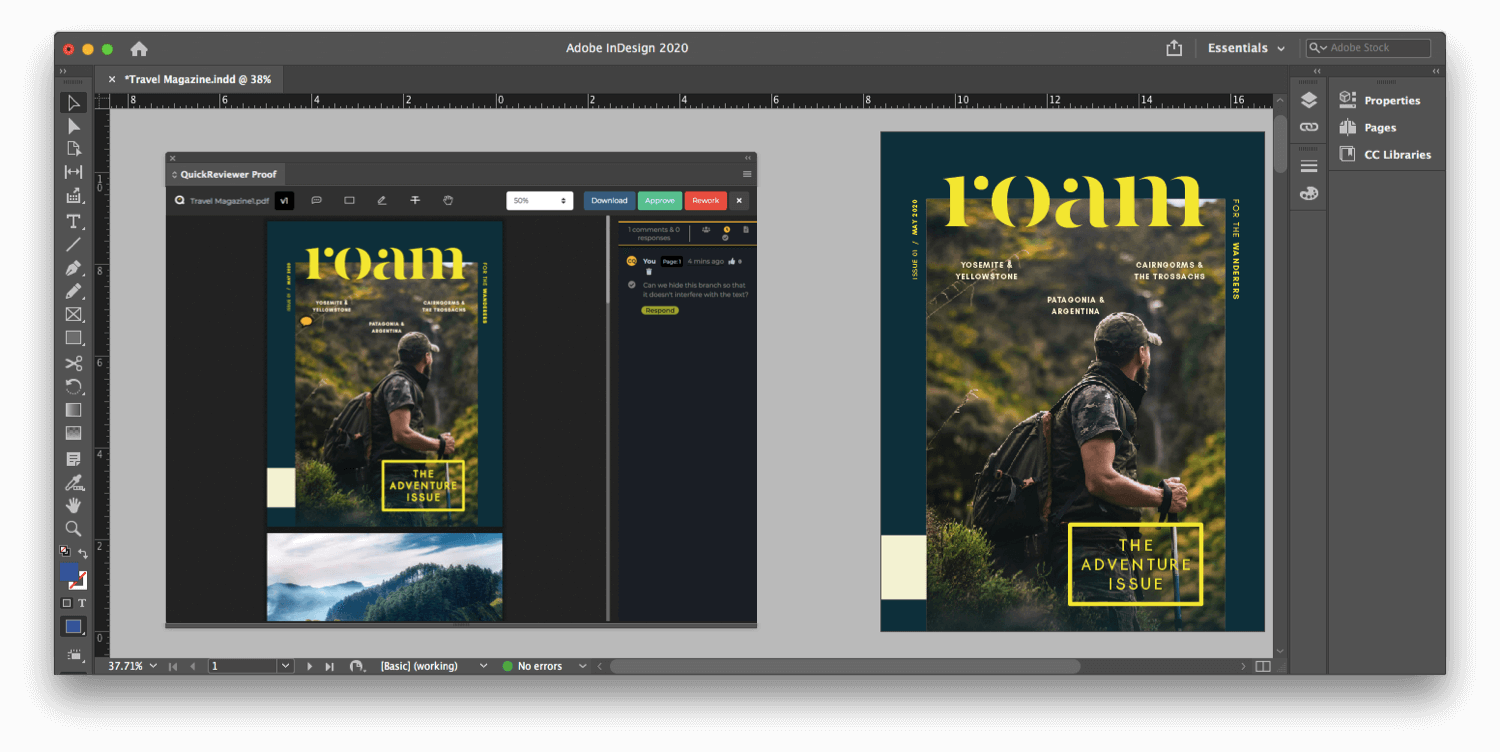
This article shows you how to access QuickReviewer from Adobe CC
To install the QuickReviewer Plugin for Adobe InDesign, Photoshop and Illustrator, go to the Adobe Exchange link
Once the Plugin is added to ‘My Exchange’ launch your Adobe software.
To access the QuickReviewer panel go to Window > Extensions > QuickReviewer

Login with our QuickReviewer email and password.
The QuickReviewer panel lets you perform pretty much all the functionality from within Adobe CC as you would from your web browser.
You can adjust the size of the QuickReviewer panel to see the list of folders, workspaces and files. By default, the main menu remains hidden and can be displayed by clicking on the menu icon in the top left corner.
Three icons at the bottom left of the QuickReviewer panel let you:
- Upload your design
- Upload a revision
- Refresh the listing
Once you complete your design, upload the file to QuickReviewer using the ‘Upload’ button (icon).

To open the proofing window, double click on the file you want to view. Only PDFs and images can be previewed in the QuickReviewer Proofing panel.

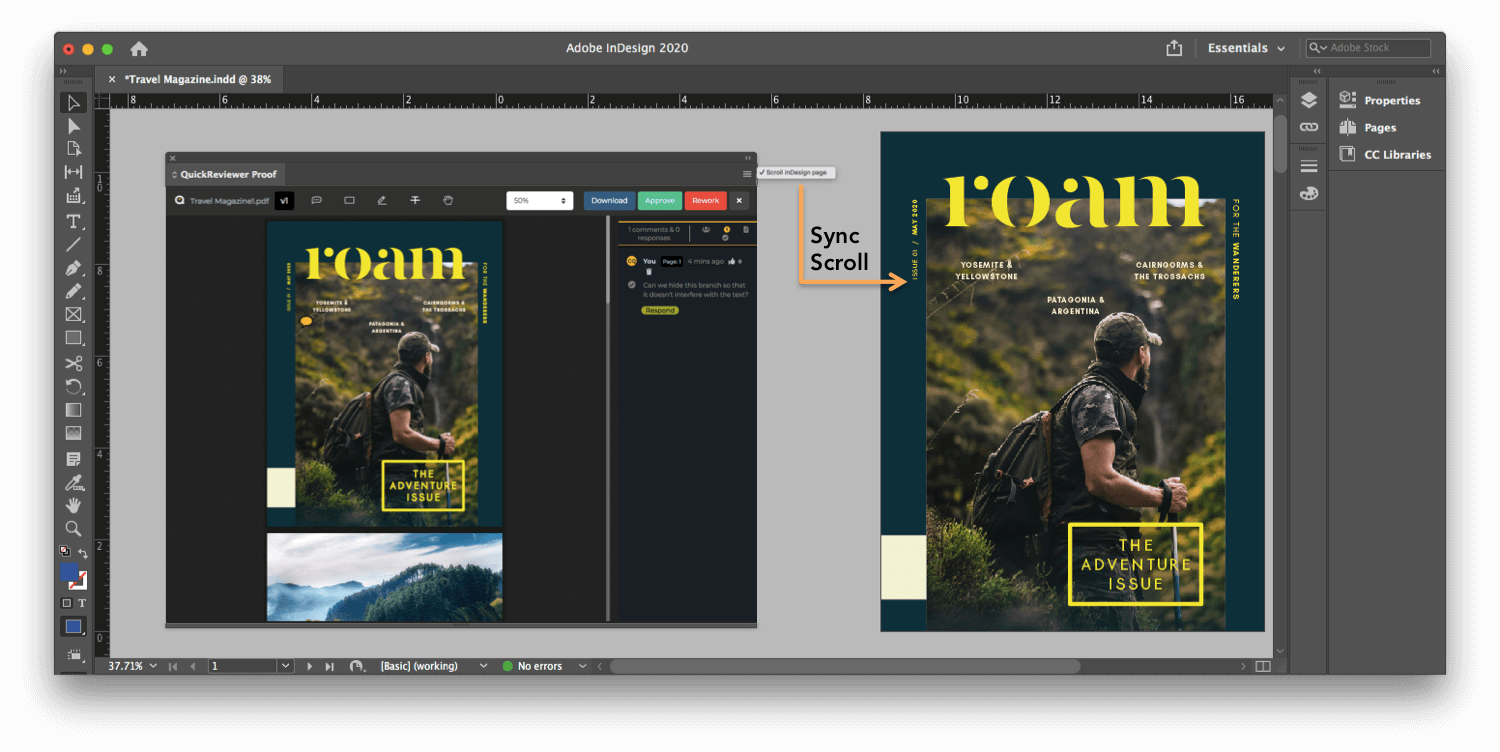
The ‘Scroll InDesign Page’ option lets you synchronise the scroll between the proof and your InDesign layout. If you click on a comment in the right bar of the proof window, the proof PDF and live InDesign page both jump to the location of the annotation. This helps you make the requested changes faster

As of now, the Adobe CC integration supports the following software
- Adobe InDesign CC
- Adobe Photoshop CC
- Adobe Illustrator CC
Coming Soon: Adobe Premiere Pro integration


